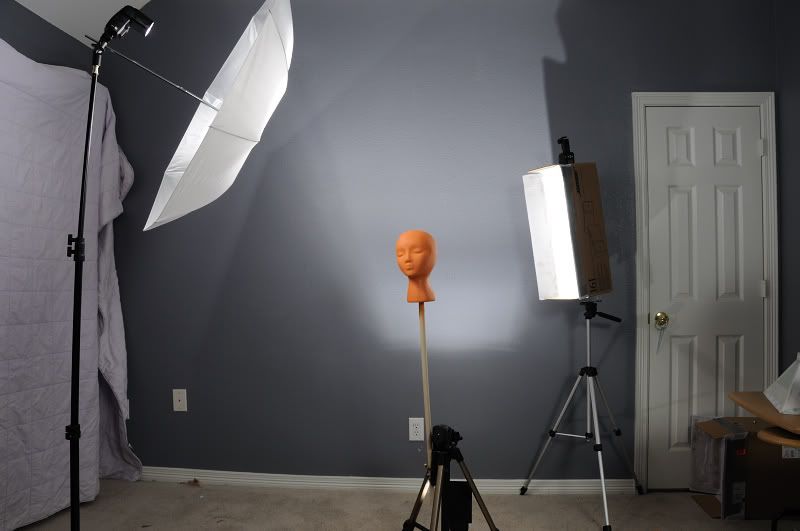
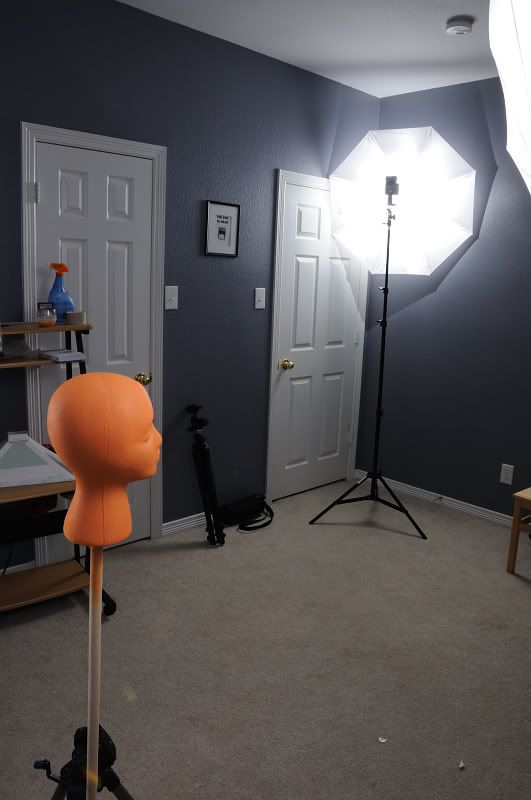
I got it all set up in a vacant bedroom in my house.
After doing a -lot- of reading, I've come up with a nice little 4-light setup.
Now, each of the 4 lights has it's own purpose. In this configuration I have a main light, a fill light, a background light, and a kicker light.
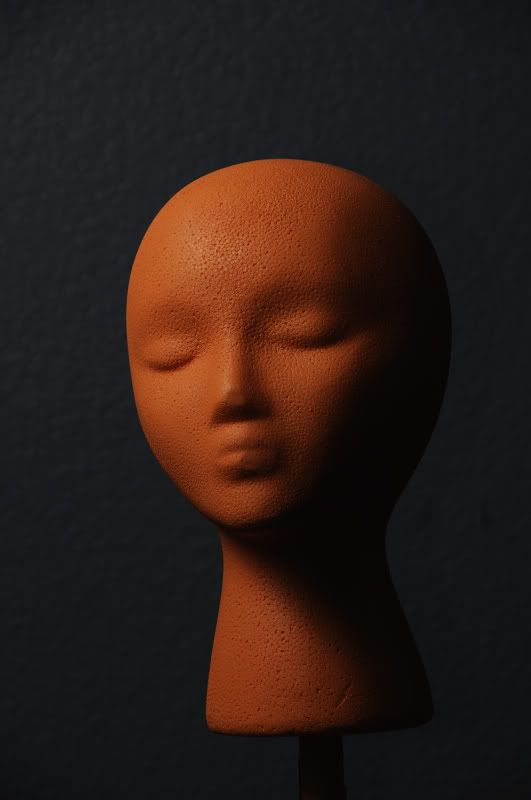
Main Light : very close to the subject, camera left, using a shoot-thru umbrella.
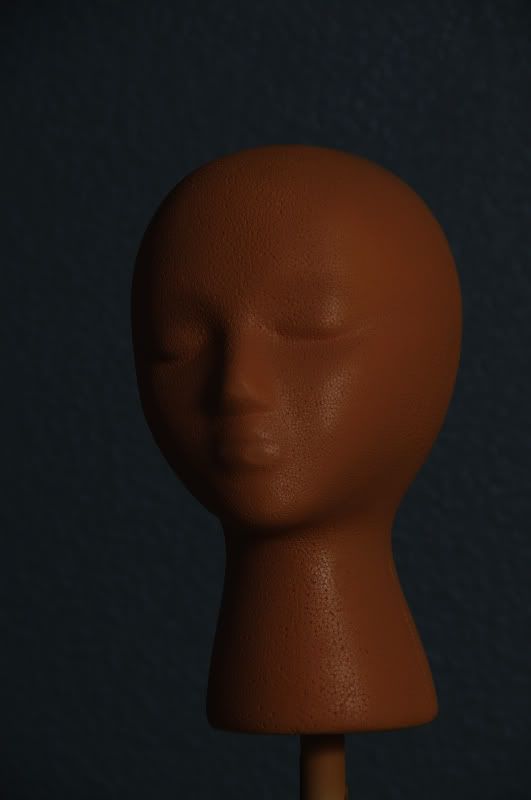
Fill Light : away from subject, up and camer right (over my shoulder), using a bounce umbrella
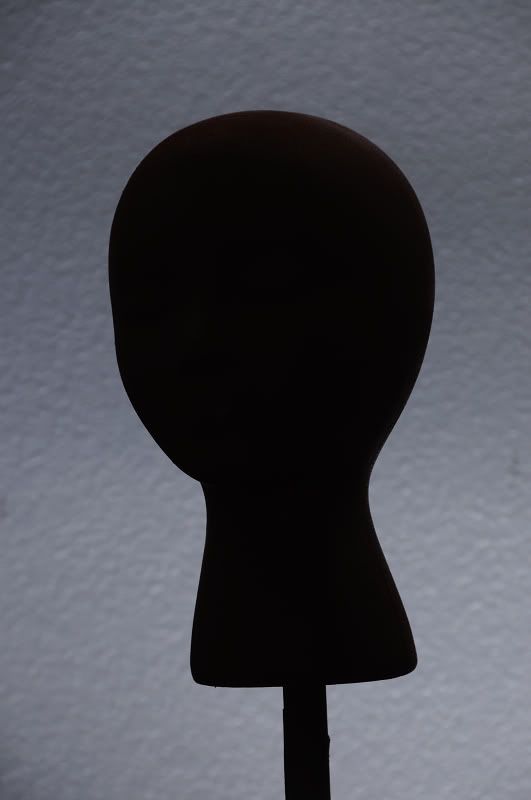
Background light : on the floor pointed at the wall, undiffused, using a gobo (gate) to keep light spill off the subject
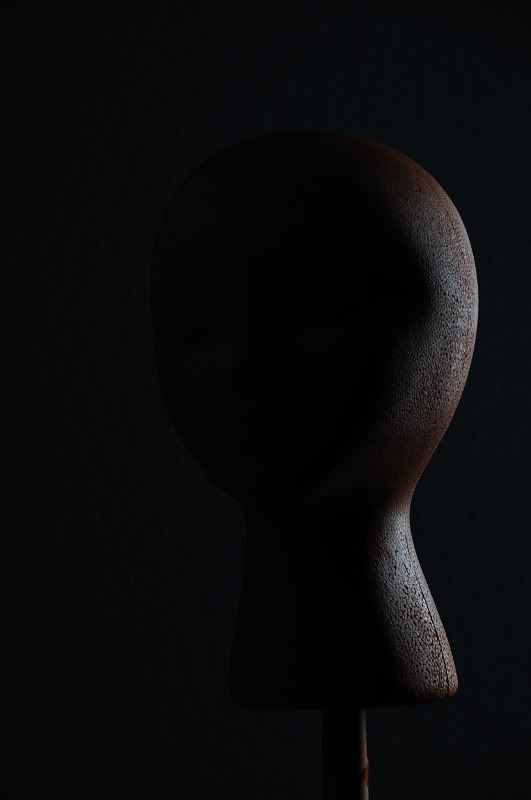
Kicker light : using a strip-softbox, behind the subject camera right
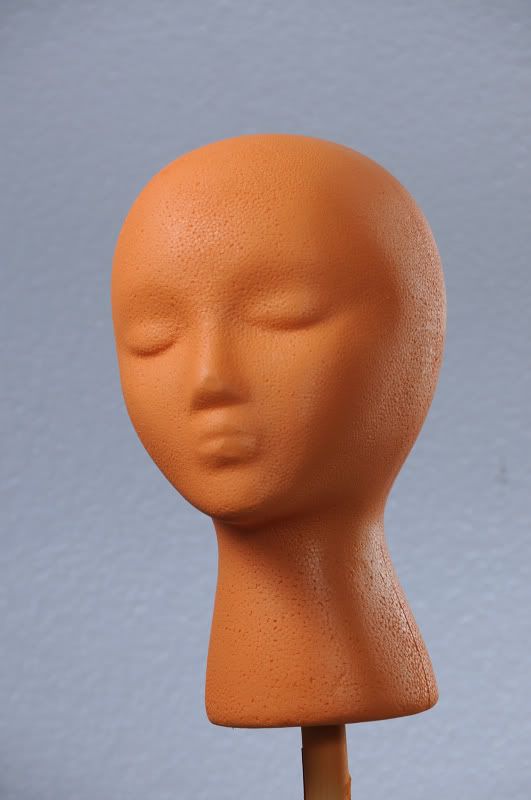
Main Light:
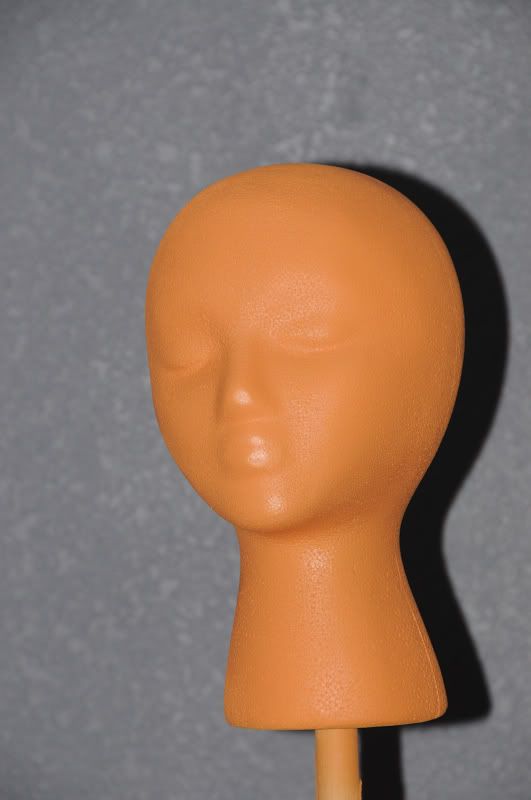
Fill Light :
Background Light :
Kicker Light :
All Lights :
just for comparison, on-camera TTL flash :
This setup is for a sort-of Rembrandt effect, with the triangle on the subject's cheek. This style of lighting is good for a female subject. I guess it's really closer to "Short lighting" where the main light illuminates the side of the face that is away from the camera.
Here's the setup :
Overall, I'm pretty happy with the MPEX kit. The main thing I wanted out of it was the 2 speedlights and the 2 stands / umbrellas / mounts. I got the Cactus V2 wireless transmitter / receivers as well, but these things are pretty cheap and not extremely reliable. I bought some little optical triggers that work just fine -- you just have to use the on-camera flash to fire everything. I set it way down to 1/128 so that it does not add to the exposure at all.
I was going to try to use the Nikon CLS, but the pre-flashes make my slave strobes go off prematurely so I had to come up with something else. The manual settings are good though because it forces you to learn all this stuff.